


We provide a complete range of construction services. Our team has many years of industry experience, we will always provide you with the options you need along with the amazing workmanship you deserve. If you are looking for reliable, efficient and cost effective construction services, trust us to get your project done right.
We are the best choice in the immediate and surrounding areas! No matter what stage of the construction process you are in, be it during the rough draft or after all of the material has been purchased, we have the team to assist you on time and within budget. Don't hesitate to contact us for a quote on your project, we are always happy to answer your questions and we promise that you will not be disappointed.


Project #4 - Hotel Renovation
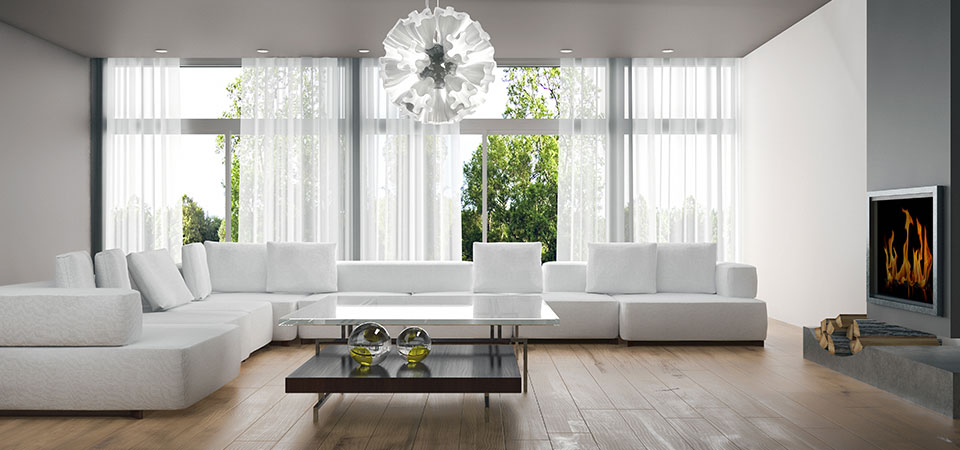
Project #1 - Home Remodeling & Repair
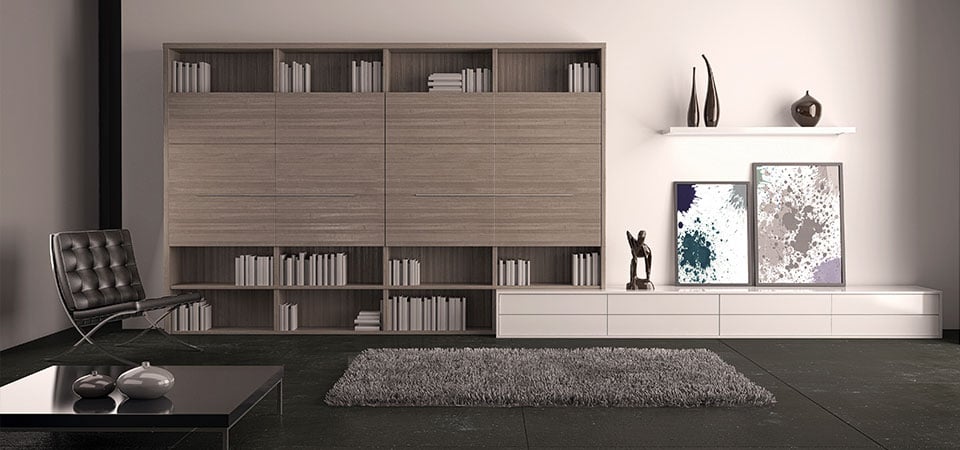
Project #2 - Interior Painting and Custom Flooring

Project #3 - Interior Painting
Project #4 - Hotel Renovation
Project #1 - Home Remodeling & Repair
1
2
3
4

"It was great working with Wood Ninja LLC. They were able to finish the project on schedule."

"We have worked with Wood Ninja LLC on many projects, we always recommend them."

"I contacted Wood Ninja LLC to help with the design and contracting of our new kitchen. They did an excellent job."
"It was great working with Wood Ninja LLC. They were able to finish the project on schedule."
"We have worked with Wood Ninja LLC on many projects, we always recommend them."
1
2
3